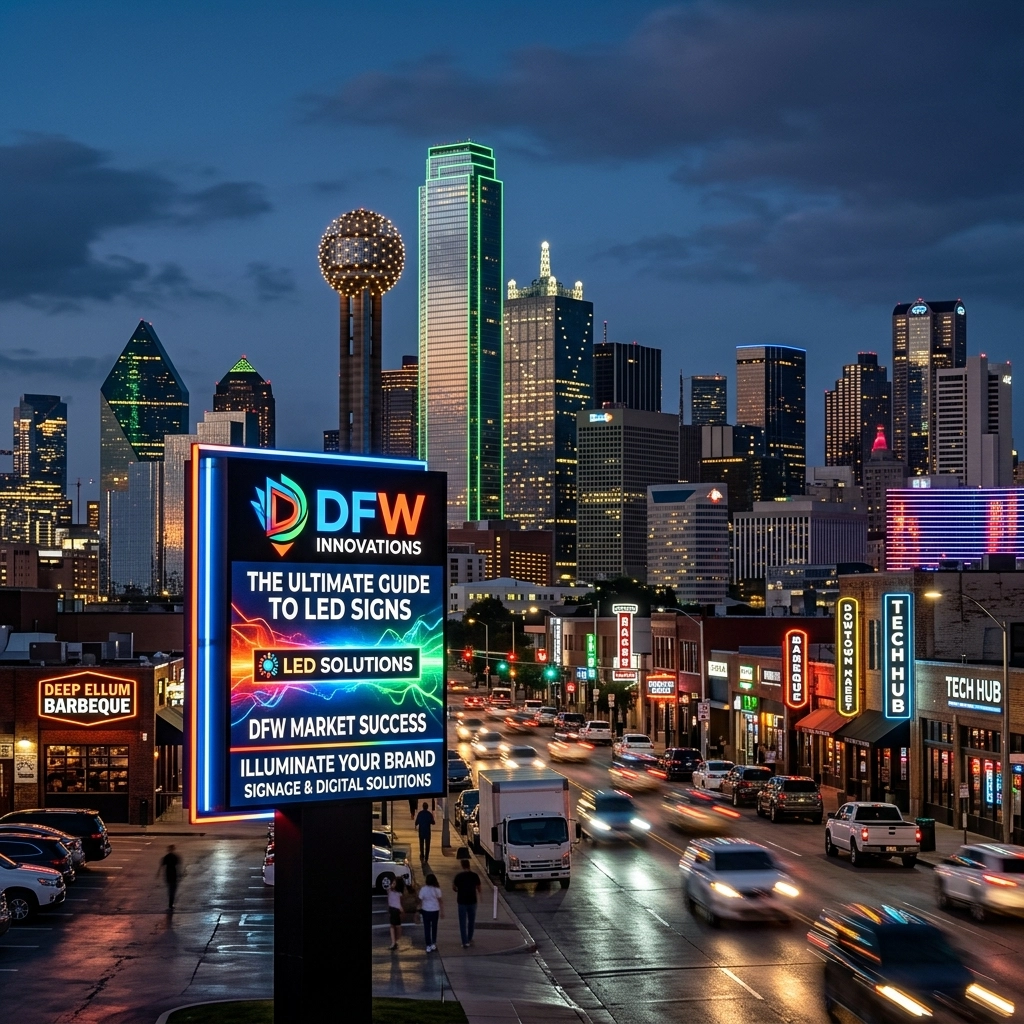
title: The Ultimate Guide to LED Signs: Everything You Need to Succeed in the DFW Market
date: 2026-04-16
categories: [quick ideas, shirts, embroidery, how to, signs, wrap, branding]
Start with the right LED sign goal
Define one goal.
Pick visibility, wayfinding, or brand recognition.
Keep the goal tied to your front door.
Use this quick list:
- Increase night visibility from the street
- Replace dim or failing lighting
- Match a new logo or brand colors
- Improve readability for drive-by traffic
- Meet landlord or city sign requirements
- Upgrade an older cabinet or channel letter set
Bring these items to your first consult:
- Address and cross street
- Photos of your storefront
- Approximate viewing distance
- Business hours and peak traffic times
- Your logo files, if you have them
Submit artwork anytime at https://www.customprintdfw.com/design.
Choose the LED sign type that fits DFW traffic
Match the sign to how people approach your location.
DFW has fast roads and wide setbacks.
Prioritize quick reads.
Use these common options:
- LED channel letter signs (most common for storefronts)
- LED cabinet signs (light boxes)
- Electronic message centers (digital LED displays)
- Pylon and monument signs with LED faces
- Interior LED branding signs
For most retail and service storefronts, choose channel letters.
Plan for $3,500+ for a quality channel letter package.
Expect higher costs for size, height, and complexity.
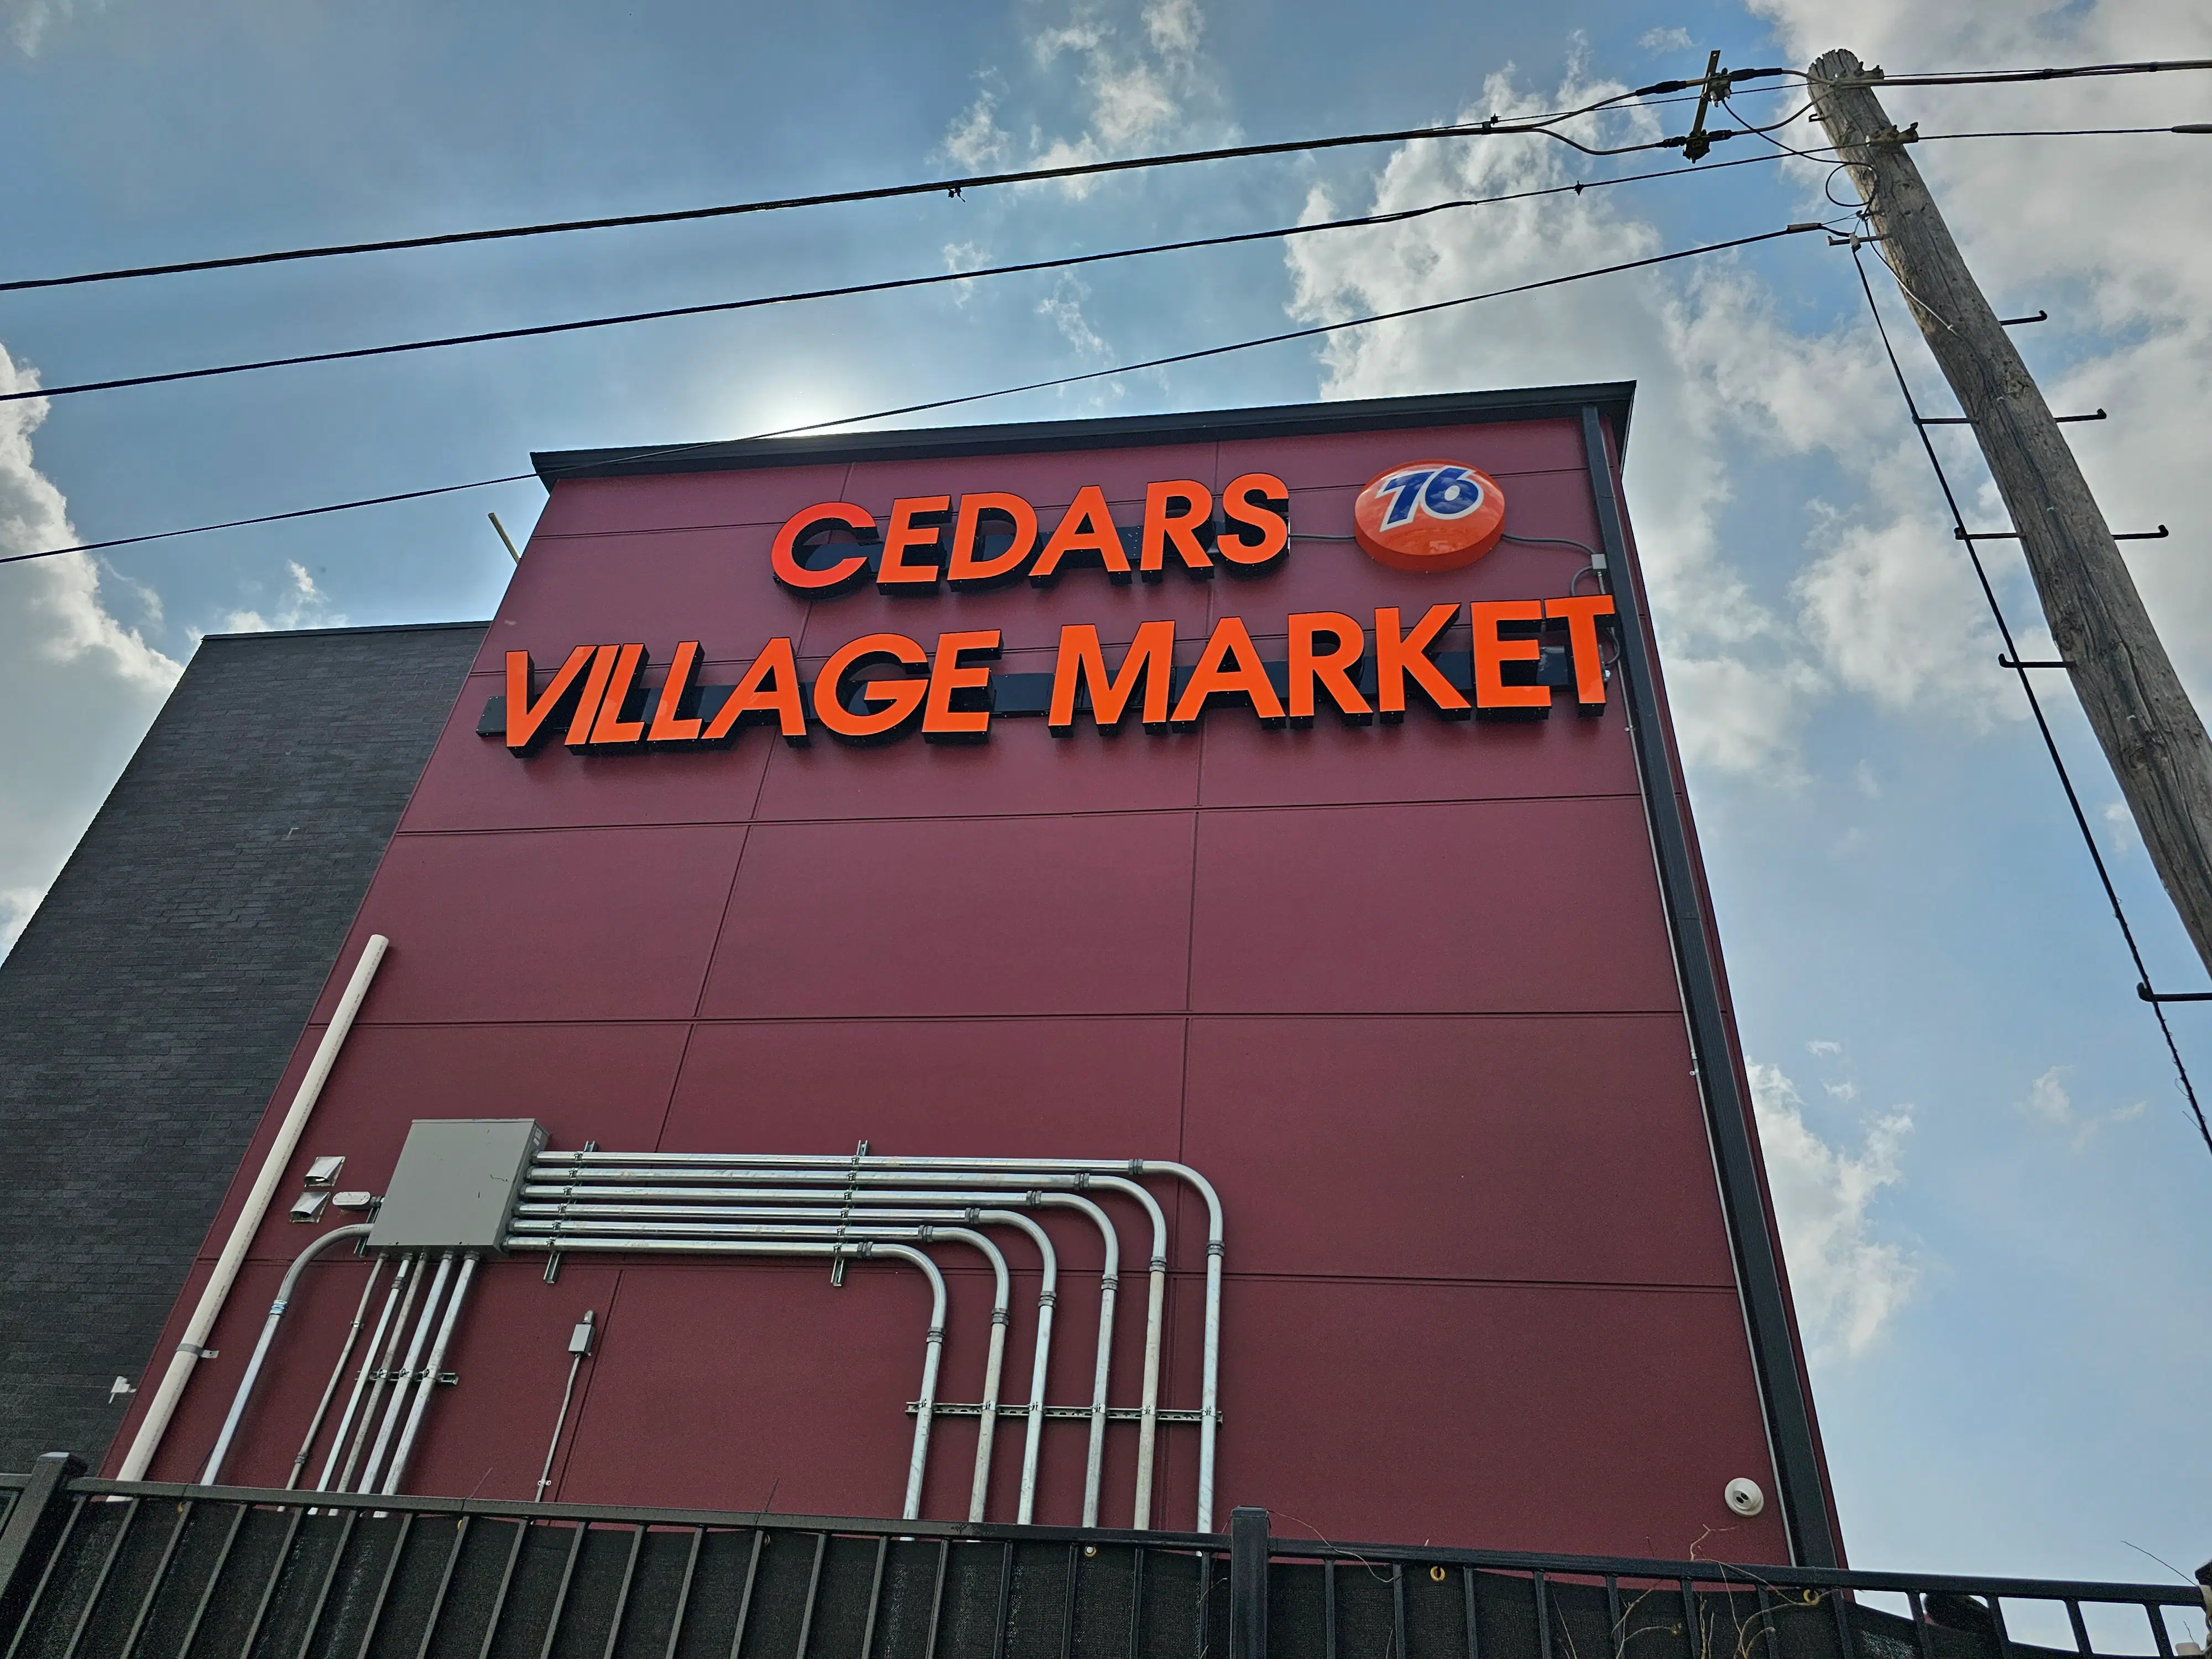
Pick channel letter signs for clean, high-impact visibility
Choose channel letters for brand-first signage.
Use them for building fronts and shopping centers.
Rely on them for consistent readability.
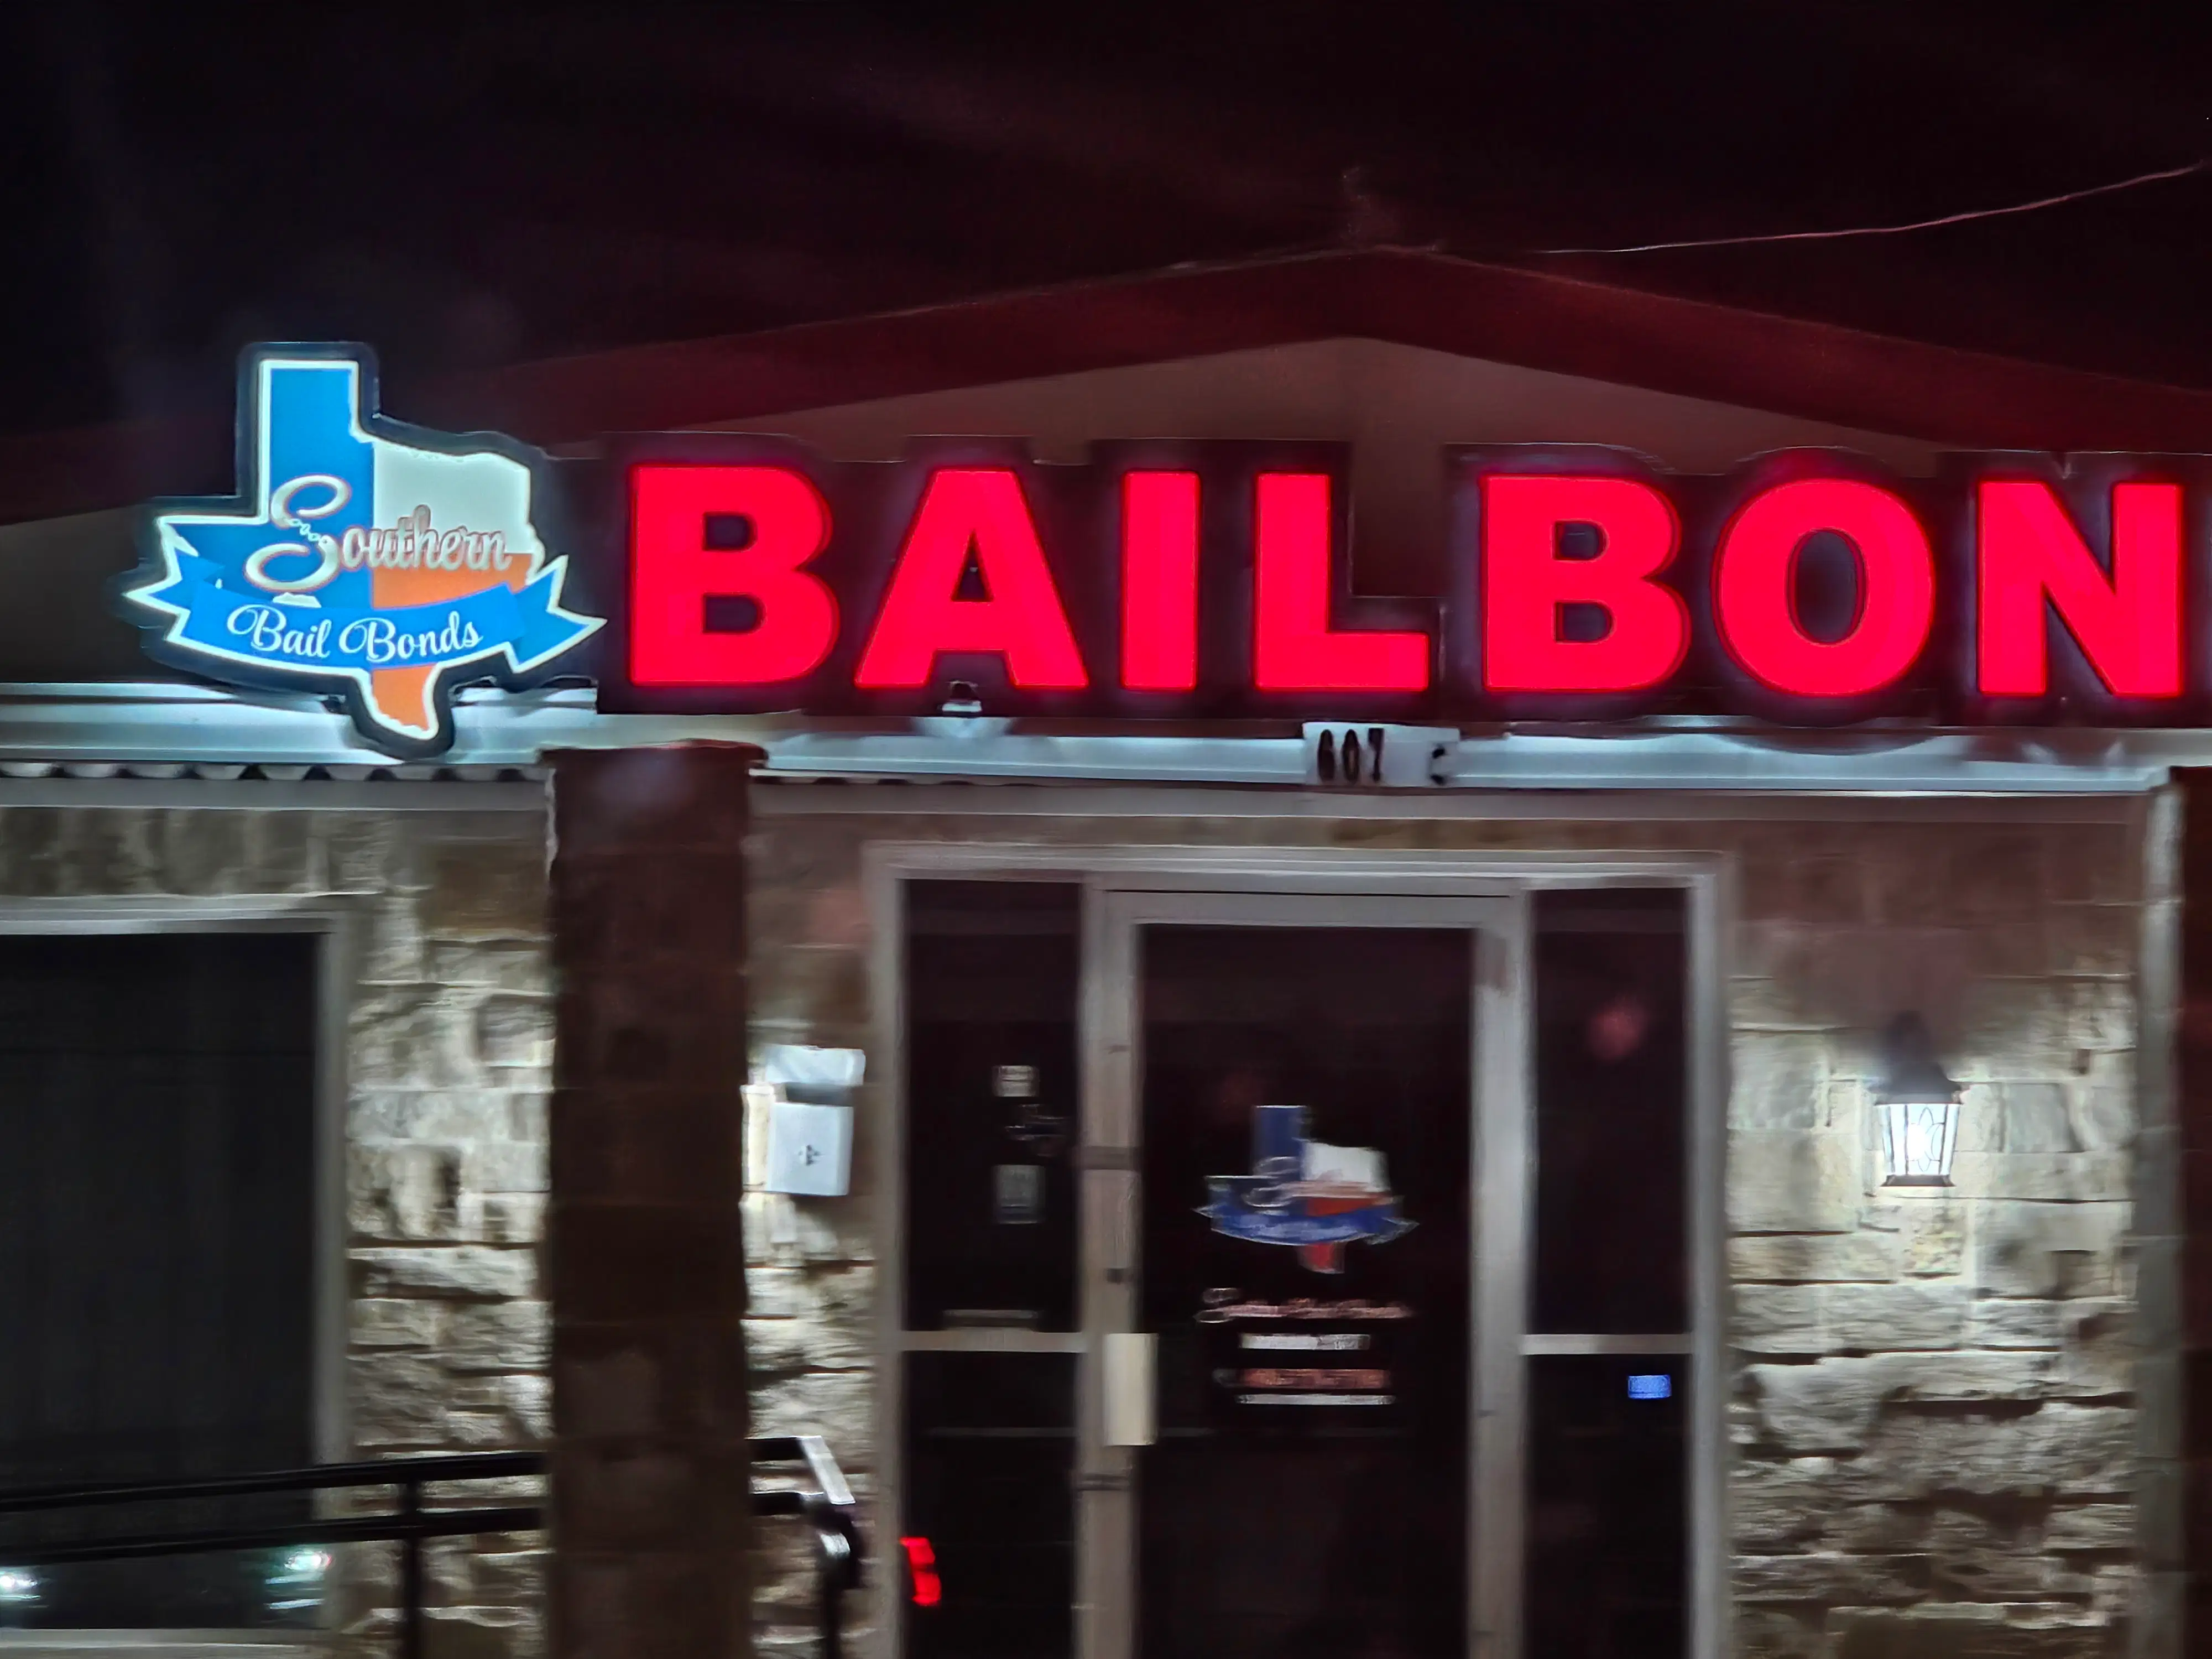
Know the main channel letter styles:
- Front-lit channel letters
Use illuminated faces for maximum night visibility. - Reverse-lit (halo-lit) channel letters
Use a glow behind the letters for a premium look. - Combination-lit channel letters
Use face light plus halo light for added contrast. - Open-face channel letters
Use exposed lighting for a classic look.
Confirm code limits before choosing this style.
Ask for these build details:
- Aluminum returns and backs
- Acrylic faces with proper thickness
- LED modules rated for outdoor use
- Weatherproof wiring and sealed raceways
- Clean conduit routing and service access
Request vibrant, custom manufactured LED colors.
Match your brand palette as close as possible.
Use test swatches when color precision matters.
Use LED upgrades to fix older signs without starting over
Start with an inspection.
Replace failed lighting before you replace the whole sign.
Improve brightness with a controlled retrofit.
Plan an LED upgrade when you have:
- Dark spots or flicker
- Uneven lighting across letters
- High energy bills from older lamps
- Frequent service calls
- Yellowed faces that dim output
Common upgrade paths:
- Fluorescent-to-LED retrofits in cabinets
Reduce maintenance and power draw. - LED module replacement in channel letters
Restore brightness and uniformity. - Power supply replacement
Stabilize output and reduce failures.
Bring these details to speed up quoting:
- Approximate sign size
- Photos with the sign on and off
- Age of the current sign
- Access method (ladder, lift, roof)
- Any landlord specs you must follow
Follow DFW visibility rules for readability
Design for cars first.
Use fewer words.
Use larger letters.
Apply these practical checks:
- Use high contrast colors
- Avoid thin fonts and tight spacing
- Limit lines of text
- Keep logos simple at distance
- Use consistent lighting across elements
Use a simple sizing rule:
- Plan about 1 inch of letter height per 10 feet of viewing distance
- Increase size for higher speed roads
- Increase size when the sign sits deeper from the street
For multi-tenant centers, keep it compliant.
Match the sign band height.
Match required colors, if specified.
Select lighting color temperature with intent
Pick a color temperature that matches your brand.
Avoid harsh light that washes out your face material.
Use these quick guidelines:
- 3000K–3500K (warm white)
Use for hospitality and classic storefronts. - 4000K (neutral white)
Use for most retail and service businesses. - 5000K+ (cool white)
Use when you want a crisp, modern look.
Ask for consistent binning on LED modules.
Reduce mismatch across letters.
Keep the sign looking uniform.
Plan placement to avoid wasted spend
Place the sign where people actually look.
Avoid obstructions like trees and canopies.
Check sight lines from both directions.
Confirm these items on-site:
- Approach angles from the road
- Night-time glare from street lights
- Distance from parking entrances
- Visibility past tenant monument signs
- Mounting surface condition
If you share a center, coordinate early.
Get landlord approval in writing.
Confirm permitted mounting zones.
Account for permitting and local constraints
Follow city rules for size and illumination.
Confirm sign type limits by zoning.
Avoid rework by submitting correct drawings.
Expect these steps:
- Site survey
- Artwork layout and scaled proof
- Engineering, if required
- Permit application
- Fabrication
- Installation and final inspection
Bring your lease exhibit if you have it.
It often sets sign size and placement.
It can override your first concept.
Understand the real cost of LED signs in DFW
Budget based on outcome, not only price.
Account for fabrication and installation access.
Account for permitting and electrical work.
Common cost drivers:
- Letter height and total length
- Illumination type (front-lit vs halo-lit)
- Raceway vs direct mount
- Wall height and lift rental needs
- Electrical run length and panel access
- Complexity of logo shapes and layers
Use this baseline:
- Channel letter signs often start at $3,500+
- Larger sets and complex logos cost more
- Tall installs and pylons raise install costs
Ask for an itemized scope.
Confirm what is included.
Confirm what is excluded.
Specify materials that hold up to Texas heat
Choose components rated for outdoor use.
Reduce failures from heat and UV exposure.
Avoid warped faces and cracked returns.
Request these quality specs:
- UV-stable acrylic faces
- Powder-coated or finished aluminum returns
- Outdoor-rated LED modules
- Proper ventilation where needed
- Clean water management and sealing
Confirm warranty terms in writing.
Confirm coverage for parts and labor.
Keep service access in the design.
Use fabrication standards that protect your brand
Ask to see pre-production proofs.
Confirm colors in daylight and at night.
Approve the layout before fabrication starts.
Use this approval checklist:
- Spelling and spacing
- Logo proportions
- Mounting method and wire paths
- Illumination style and brightness level
- Raceways painted to match the wall
- Night mockup, if available
Ask for vibrant, custom manufactured LED signage.
Match your storefront lighting and materials.
Keep the sign cohesive with your wrap and print pieces.
Coordinate your LED sign with the rest of your branding
Treat the sign as one part of your system.
Match colors across print, wrap, and interior graphics.
Make every touchpoint consistent.
Align these assets:
- Exterior channel letters
- Window graphics and hours
- Lobby wall logo
- Directional signs and wayfinding
- Vehicle wraps for service fleets
- Business cards and flyers
Use one shared brand kit:
- Logo files
- Color codes (Pantone, CMYK, RGB)
- Font names
- Do’s and don’ts for placement
If you need files cleaned up, submit them at https://www.customprintdfw.com/design.
Request the right info from your sign shop
Ask for documentation.
Ask for electrical specs.
Ask for installation details.
Use this request list:
- Shop drawings with dimensions
- Mounting plan and hardware notes
- LED module and power supply specs
- Estimated install time and access plan
- Permit support scope
- Care and cleaning instructions
Ask for photos during fabrication.
Catch issues before install day.
Keep your timeline predictable.
Use this step-by-step plan to succeed in the DFW market
Follow a simple process.
Avoid redesign loops.
Avoid permit delays.
- Gather storefront photos and measurements
- Confirm landlord and city constraints
- Pick channel letter style and mounting method
- Approve a scaled proof and colors
- Finalize scope for fabrication and install
- Schedule install and electrical work
- Test illumination day and night
- Save your drawings and warranty details
For local signage and LED upgrades in Dallas/Fort Worth, use https://www.customprintdfw.com.
For more guides, use https://www.customprintdfw.com/blog.
All rights reserved.
Leave a Reply